Showing posts with label Glitter. Show all posts

Friday, 4 October 2013

33 Day Challenge: Texture

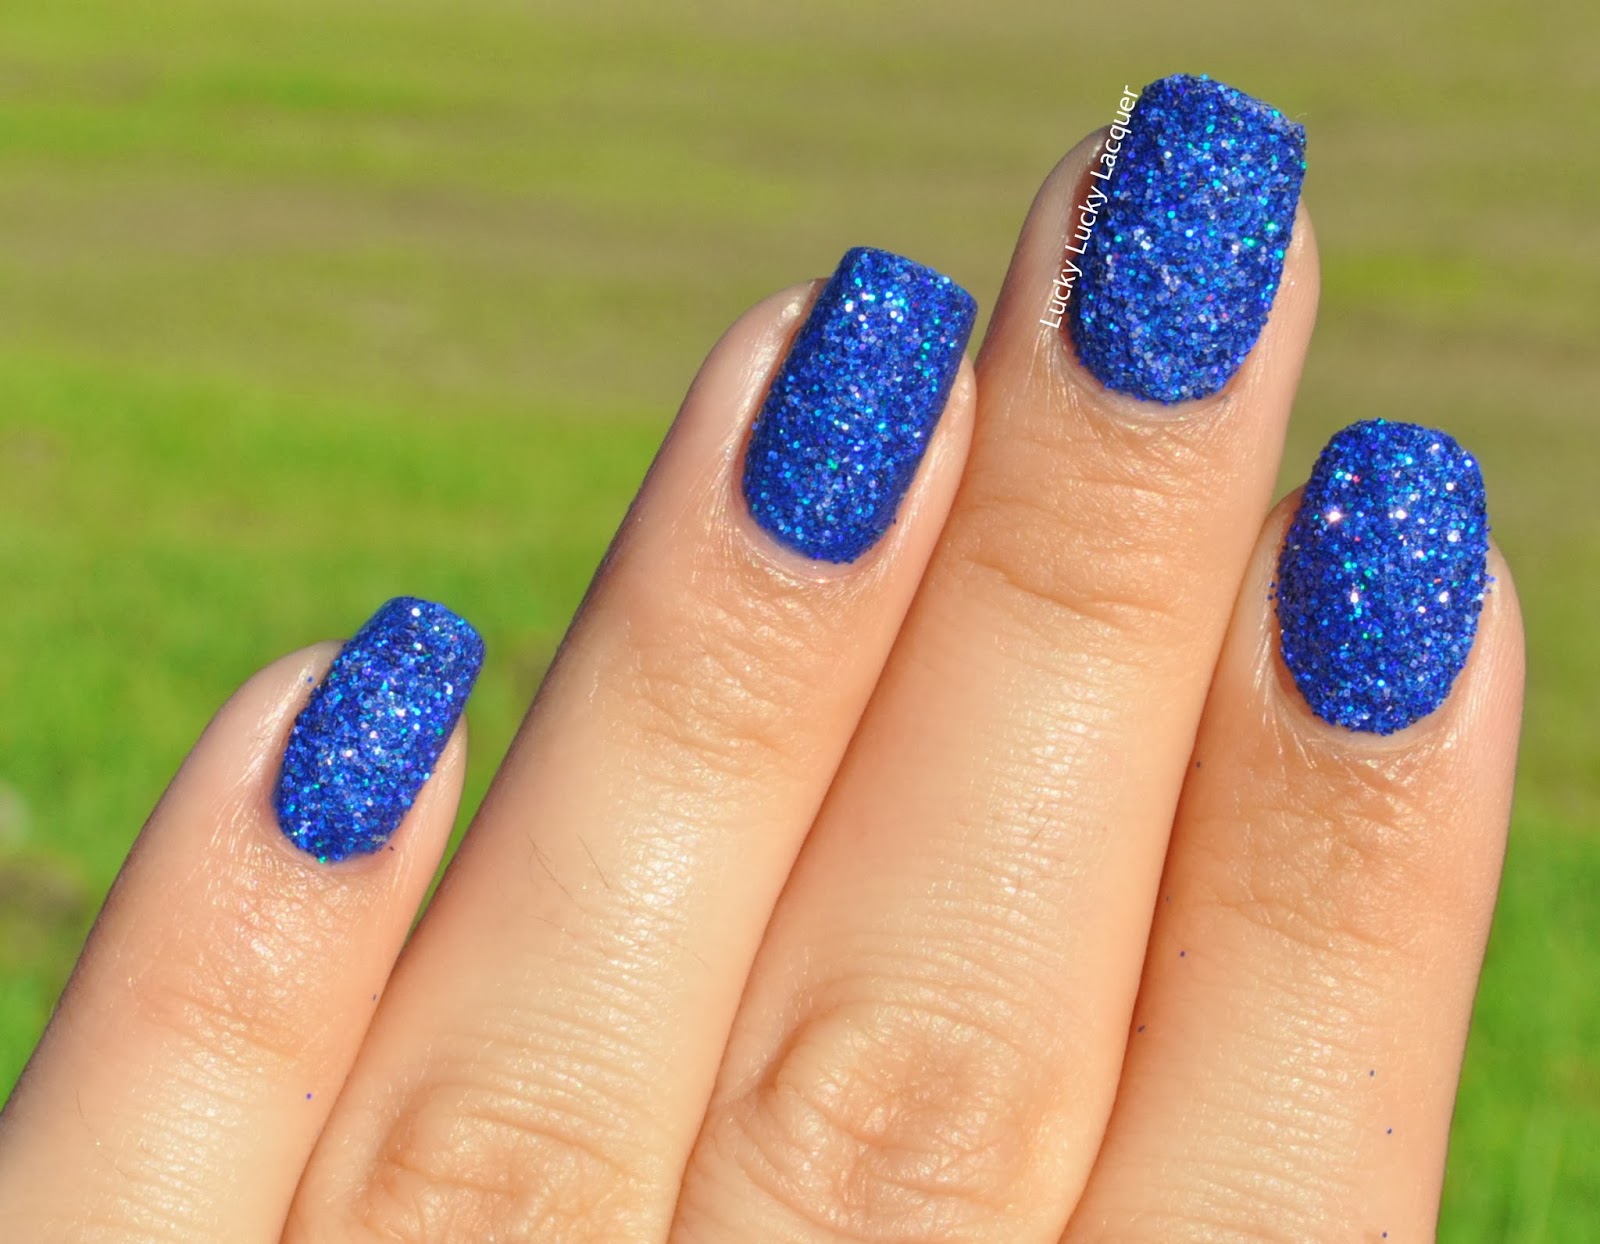
I'm going to keep it super short today after my massive blab on the last post plus the space bar on my keyboard only types when it wants to. Day six of the challenge calls for a textured mani and I knew exactly what I was going to do as soon as I saw the prompt. I've been wanting to do glitter nails for ages and I had even bought a tube of glitter from the craft store, but for various reasons, I  hadn't gotten around to it.

I started with one coat of Sinful Colors in Blue By You, the closest colour I had to the glitter, let it dry and applied a second coat to one finger first but only let this one dry for about 30 seconds. After this  time, I pressed my finger onto the fine glitter and brushed off the excess with an old foundation brush. I repeated the process with the rest of the nails.


That's it. Easy as pie. I didn't quite realise at the time of purchase but the name of the colour of the glitter is Holo Royal, so of course I had to bring these little babies out to the sun.


Look at the sparkle.


And the pretty holo glitter.


I must say, even after brushing all the excess glitter, there was still a  lot of it that came off during the afternoon that I wore these and mostly onto my hands. You may see some stray glitter on my cuticles and fingers. 


A few close ups, just because I can.


I didn't mind the glitter going everywhere because they were so pretty and sparkly!


Check out the other participants in the challenge.


Till next time,

Laura

Tuesday, 7 May 2013

Dorothy For The Land Of Oz

Back when I was about 9 or 10 years old, I went to my dad's place where he had a computer game about Leonardo da Vinci, this was back on 1995/96 so it was super exciting. It was basically a game that run you through all of his career paths and all the inventions that came out of that, think the very early stages of helicopters, forts, painting, discoveries in anatomy, scuba diving. He was an painter, sculptor, architect, musician, mathematician, engineer, inventor, anatomist, geologist, cartographer, botanist, planner (source), and who else knows what would run through his head that he didn't put down in paper. Since then, I found the man utterly fascinating and have been jaw-droppingly amazed at what the human mind can do and create. 

Now you may think, why is she talking about Leonardo when I came here for nails? Well, I'm just having a bit of a rant. Skip the next couple of paragraphs if you only came here to see Dorothy. I don't want to put you off. Anyway, I'm finding a tad difficult to think that I have to sit exams and take a lot of pressure for four years to do ONE thing for the rest of my life.  I know I will get bored, I know I will need  a big change every decade or so. I wanna have twenty odd careers in my life, like Leonardo (not saying I'm a genius but it would be nice). I'm really over the fact that I have to pay $40,000 for uni to work for when I could be learning through experience and inquisitiveness. I guess I won't beat the system on this one.

I think I'm just having a shitty time trying to get my assignments done and pushing myself past a mental barrier that's stopping me from thinking freely and getting them done. I can also be a perfectionist with what I do and if it's not great, I'd rather not do it.

In the meantime, I'll keep going with this colourful hobby of painting my nails to cheer me up a little and stop that mental block. 

I present to you Dorothy from Picture Polish, a raspberry red jelly with tiny silver glitter.  the formula was pretty good, if a little thick like Peacock, but still manageable and expected from such dense glitter. Photos done below with two coats and no top coat.


I've checked out other blogs to make sure there's only silver glitter but I swear it looks like there is pink glitter. I had to take some macro photos of the bottle and nail to convince myself that there's only silver. The polish on the nail looks a lot pinker and the glitter may even look golden in some lights.


To be completely sure, I applied some Rimmel Matte Top Coat, which made Dorothy even lighter. I'm still in doubt.


Hmm... Either way it is a beautiful polish that shines and sparkles like you would expect a piCture pOlish glitter to do. I added a tape accent nail with Layla's Mirror Effect in Metal Chrome and dotted Dorothy on top. 


Funny how that perfectionist streak hasn't translated to this blog because I can tell by the above photo, that's not my best work. 

It is still fun and very sparkly, though. Hope you guys can take some enjoyment from the swatches and my tiny rants.

Till next time, 

Laura

Tuesday, 12 March 2013

Ciate's Beach Melba


When I first heard about the brand Ciate, it was back when they were trying to tell bloggers to stop posting photos of the caviar manicure as they would soon copyright it but hadn't yet done it. I came across it in a few blogs and in this case, bad publicity was really bad publicity. I didn't see any Ciate products in Aussie shops until I went into Mecca Cosmetica some time before Christmas ans saw the $20 price tag for a 13.5 ml bottle and $30 for their velvet/caviar kits. I could so pass up the opportunity to acquire this brand. For $20, I can get myself 5 Limited Edition essences, 4 Sinful Colours, 3 China Glazes online, 10 Ulta3's, not that I would but you get the gist.

The reason I'm presenting this to you is that I found the brand for about AU$10 a bottle at BeautyBay.com back in November. I wanted to try just because I heard so much about it on the internet and let's face it, that pretty bow calls out girly, and good marketing. I've put it on few times since then but I didn't fall in love with it but after a week and a half of failed nail art, I decided I might as well post some of the polishes I haven't shown in here.

So here it is, Ciate's Beach Melba. The swatch below was done with four coats and no top coat. 


What do I think about it? The good? The formula is great, it stays where you apply it and it dries super shiny without any top coat. The bad? Well, it is a pale nude (my bad choice), it takes forever to dry (I had to dip my fingers in icy cold water to speed up the process; otherwise, with my impatience, this post wouldn't have happened) and it is so sheer that even with four coats there is plenty of VNL. 

For a person that doesn't like nudes and has patience only for one-coaters, this polish wasn't the best choice. I love the glossy finish but my liking stops there. I mean, if you're looking for a work appropriate polish, go for it, if you can find it for cheap.

Another reason why I'm not very likely to buy this brand again is that, at the time of posting, BeautyBay.com was no longer shipping nail polish outside the UK. I don't want to pay $20 for a bottle of polish, especially if I can get myself 5 Limited Edition essences, 4 Sinful Colours, 3 China Glazes online, 10 Ulta3's...

The colour was a little too pale for my skin and didn't look right. I wanted to keep it nude-ish and pretty so I added a coat of Space Queen by essence. I got this polish a while ago, as you can see from me holding the 5 ml bottle. I'm not sure if it still stocked in the new range.


*Sigh* Glitter does make everything look better.

Bottle shot for show.

I might use this as a base for glitter sandwiches and nail art but I'm not really a fan. :( Have you ever tried a new brand for the hype of it and then didn't like it?

Til next time, 

Laura

Tuesday, 15 January 2013

essence Snow White Glitter Sandwich

Going through Tasha's stash has given me quite a few lemmings. One of them was Essie's Jelly Apple. I loved the colour (my favourite polishes have always been red) and the jelly finish (which until now, I never owned). When swatches starting popping up on the WWW of essence's Snow White collection and its polish of the same name, I knew my lemming would be satisfied for a very low price. 

I patiently waited for Target to stock the collection but it took a few months before the display was up. I guess the release of Twilight was more important than Snow White (not on my books...). It took a few attempts and visits to two local Targets to get my hands on this puppy. I actually ended up buying three bottles, but at $3.50 each, it is still cheaper than buying one discounted Essie online.

Swatch below is done with one coat and no top coat. Isn't pretty AND shiny? I also love the fact they have a wide, flat brush that makes the application of this extremely-easy-to-work-with formula even easier.


I couldn't stop admiring the colour but after a few hours it got kinda boring and I thought 'Why not paint myself a glitter sandwich?'. I used my favourite glitter topper, American Apparel's Supernova. It's doesn't need to be dabbed on too much for an even coverage of its different size glitters and it's pretty colourful. Only applied one coat on the photo below.


I let it dry for a bit to avoid any drag and applied a second coat of Snow White. What happened to the colour of the glitters really impressed me. The glitters were either light or black and no actual colour showed thru. I'm still no connoisseur of colour theory and a lot of my experimentation is trial and error. Either way I was very happy with the result. It sort of reminded me of strawberries... 


 At the end, I added a matte top coat but wasn't too impressed. For once, I liked the shiny version better.  

Til next time, 

Laura

Wednesday, 12 December 2012

Glitter Skittle

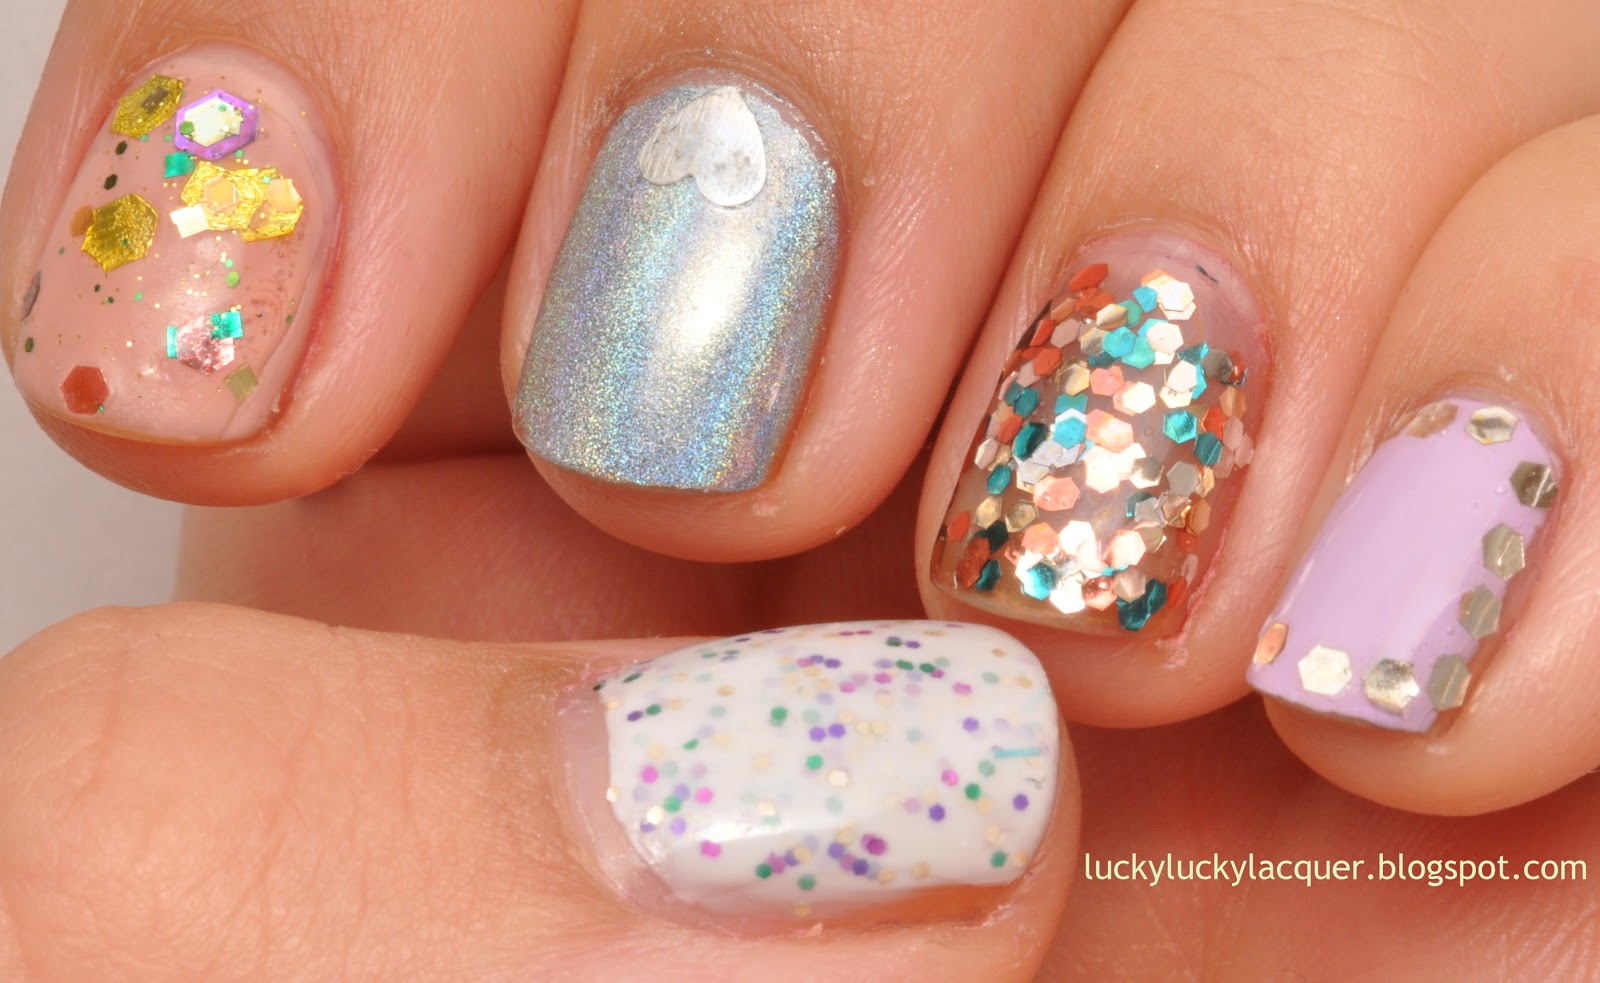
Not sure if you guys have noticed but skittled manis rock my boat. In this occasion, I ended up with a heap of different coloured glitters thanks to Tasha's stash. I would say Tasha has a very different taste in polishes that I do. She tends to go for pastels and lighter colours while I usually go for bright colours and in your face finishes. It's actually quite refreshing to see (and use) someone else's stash to try something different and expand the my colour horizons. Or I could say I just got more lemmings.


Pointer finger: Mirenesse in Forever Pearls and DBP in Jane
Middle finger: Colour club in (I think) Harp On It
Ring finger: OPI in The Living Daylights
Pinkie: China Glaze in Sweet Hook and glequins from Born Pretty Store

I can't actually remember the name of the polish on the thumb so I'll get back to you guys soon with that one.

For the top coat, I used Tasha's Seche Vite. It was my first experience with this top coat and I can see why it is so popular. All the glitters that I used are completely smooth and I wanna see how long they last. I guess I'll keep you posted on that one too.

Till next time, 

Laura

Wednesday, 21 November 2012

theBalm's You're So Hot and Gold

In the last post, I wondered how many other brands didn't capitalise their names. I didn't go out looking for them but I came across theBalm at David Jones, which I guess is half way there. I'm not a grammar Nazi or anything of the sort, but it makes me think brands are overusing the lack of capitals just to give their name an edge. Anyway, we're all here for polish so I'm gonna show you theBalm's polish I purchased on the weekend.


This one is called You're So Hot and Gold from the brand theBalm. It's basically small glitter (small, not fine) suspended in a clear base with a scattered holographic effect. It is soooo pretty and sparkly, even in low light. It can be used for layering but I like the way it looked on its own better. The formula was amazing and there was an even coverage of of the glitter without having to dab the brush on the nail. The swatches above and below are done with three coats. It dried rather gritty, which could be expected from a glitter polish, and needed two coats of top coat to give it a completely smooth finish. 


One blurry photo to show the holo effect...


I'm not a fan of just swatches so I stamped what I think is an abstract leaf pattern on my ring finger for an accent, excuse the dodgy stamping skills.


If I must show the holo effect properly, I need to show sun photos


Sunny, extra blurry photo to show the beautiful colours of the holo...


Polishes used:
Gold glitter: theBalm Hot ticket Nail Polish in You're So Hot and Gold (what a mouthful...)
White stamping: Konad Special Nail Polish in White 
Top coat: Sally Hansen Insta-Dri
Stamping plate: Bundle Monster in BM-204

And just in case you are wondering what the bottle looks like.


Now for some low-down on the brand. TheBalm is made in the USA, designed, distributed and marketed by a team in San Francisco, California. I'm not sure how long the company has been around but there it seems a most of the people working behind the brand have been working on the make-up industry for more or less a decade.

In Australia, theBalm has been exclusively sold by David Jones (not sure about e-tailers) from the beginning of August this year. I only came across it on the weekend and unfortunately their range didn't seem that catchy. It doesn't feel like there's too much to tell this brand apart from all the other million that pop up every week. I mean, I didn't really look at their lipsticks, foundations, etc., but the nail colour range seemed very safe. There were only six or seven polishes that were nudes, taupes, black, a base or top coat and this holo glitter. They also go for $13.95, which for me at least is a bit high for colours I can get somewhere else for cheaper. 

If you were to jump on theBalm website, you can see the range is a lot bigger and out there than what is offered at David Jones. Which is really a shame because I guess what give them the edge (apart from the lack of capital at the beginning of their name) is the quality. I'm glad I was in a impulse shopping spree and grabbed this colour. I'm so in love. 

I'm just gonna show you one last thing. When I started applying the polish, I really liked the way it looked with only one coat, as it was very subtle, everyday sparkle. The second coat still subtle but was way but sparklier. The third coat gave it almost full opacity. Check it out.

This is without top coat.

This is with top coat on. I felt the top coat brought out the sparkle on the glitter and didn't dull it at all, like it can happen with holo effect polishes, scattered and linear.


What do you reckon? Would you give it a go?

Till next time, 

Laura

Friday, 9 November 2012

Too Random Skittle

I've had a few terrible manicures in the last couple of days that were not even worth photographing. I'm talking about extremely flooded cuticles that couldn't be fixed, crooked stamping, smudging of such said stamping, terrible colour combinations and bad gradients. 

This is the first one that looked sort of OK, even though I'm not completely satisfied with the result. I tried using differents textures ( a cream, a metallic and a glitter) in blue, green and pink that I thought would look good together as a skittle mani. Tried tying it all up by having a striped middle finger but the job was kinda dodgy and there's a piece of stray glitter on my ring finger that I couldn't remove!!!!

Anyway, I'll do and learn but here are the pictures.


The obliged matte top coat, which in my opinion, makes polish look a million times better. 


Polishes used:
Pink: B Collection by Bloom in Cologne 
Blue Glitter: Essence in Blue Addicted
Metallic Duochrome: Topshop in Eclipse
Top Coat:   1st pic: Sally Hansen Insta-Dri
                 2nd pic: Rimmel Pro Matte Finish

There you have it. I'm gonna Google Colour Theory and maybe learn a little about what looks good together and keep practicing with that tape.

Till next time, 

Laura


Monday, 25 June 2012

No Glitter Jelly Sandwich Here


I think this post will be one of lots of confessions of my nail polish fascination. The first one would be the fact that I loooooooove the way glitter jelly sandwiches look (you know, one layer of sheer polish, one of glitter, one of sheer polish?). Every time one pops up in a blog, I can sit there looking at the pictures and find every sort-of-hidden piece of glitter in that particular manicure. Why haven't I done one? To be completely honest, I have about 30 untried polishes (would that be confession number 2?). I feel like I need to start using those before I revisit any of my older ones that I know would work for that particular look.

While looking through my polish drawers, I found one of my untrieds that was very glittery, Sally Hansen Gem Crush in Bejeweled. I have this sort of compulsion at the moment where, if my nails are bare, I need to apply polish immediately, otherwise... I'm not sure what would happen, since I usually give into the urge. So on the Bejeweled went  without hesitation and I thought I could create some sort of jelly sandwich with it. After applying the first layer, I realised I had the order of the polishes wrong, decided to abandon the idea and just enjoy the one-colour-of-polish-at-the-time experience. 

Once two layers of Bejeweled dried, I looked at my nails and came to the conclusion that such glittery, pale colour didn't suit my skin. I went back to the polish drawers and found a more colourful glitter to put on top, which ended up being Sally Hansen Xtreme Wear in Rockstar Pink. I liked the look but the holographic glitter in Bejeweled got lost with the Rockstar Pink. I applied a last, very thin layer of Bejeweled and this was the final result.


I guess this would be bring me to my third confession. I don't plan what I'm painting on my talons 99% of the time. If I ever do, it turns out completely different or I don't end up liking it, so spontaneity is usually the key for me.


Anyway, we're all here for polish, not confessions. I'm sure you've seen the bottles around but I'll show you again just because I can.


The Gem Crush polishes came with a flat, stiff, medium length that is AMAZING for picking up the glitter. No having to fish for it or lay the brush really flat and hope that the glitter will stick to your nails. Sally Hansen has done a good job with this one. 


Now, after all the blabbing, here's a picture of how the transition of this mani happened. On the left, two layers of Bejeweled, in the middle, one coat of Rockstar Pink over two coats of Bejeweled, and finally on the right the creation of the glitter glitter sandwich (was that a creative name or what?).


This extremely glittery mani was also extraordinarily gritty. I'm hoping the two photos below can show the difference. On my left hand (left photo), I applied three thick coats of Essence XXXL Shine Gel-look Top Coat and the grit could still be slightly felt. On my right hand (right photo), I didn't apply any top coat and I think you can see the difference. 


Not sure if you noticed from the pictures above but my right hands looks a little rugged. This would be confession number four. My right hand usually goes without moisturiser, base or top coat and when I painted them the polish goes all over cuticles and fingers. It's not gonna get photographed, so it can be left untreated, for lack of a better term. Oh no! Not after this pictures. My right hand will be treated with as much love as the left. After all, it does most of the work...


And last but not least, I hate nail polish remover. I dread the moment when I have to take out the cotton and soak it on that smelly, irritating substance that removes the beloved polish.  When I applied all the glitter above, the first thing that popped into my head was the fact that at some point I would have to remove it. Well, that's what happens when one wants to sparkle. No pain, no gain.

Fortunately for me, all the grittiness with no top coat cracked in day at work. The below photo was taken on my lunch break because I felt it wasn't going to last the whole day and I wanted to show you. *Warning: The following image might disturb polish lovers.* 


My shoulders now rest lighter getting all that off my chest and I can breath easily (since I didn't have to unpolish one hand!). I hope I haven't bored you though.

Until next time, 

Happy polishing!!

Tuesday, 12 June 2012

In Memoriam of the Skittled Mani *Edited with photos*

This is a rather sad post for me as I am mourning the massacre I created while trying to revive a four-day-old skittled mani (the one i got with all your awesome nail polishes on Friday night). I thoroughly enjoyed having ten fantastic colours on my nails all at once. I never thought it could be so much fun!!! 

So after the four wonderful days, I noticed there was considerably nail tip wear on the glitters, which accounted for at least three of my digits. I thought a tape mani a la Chalkboard Nails* would hide the tips and give the colours that I was wearing a new life. Off I went to grab my striping tape and carefully pressed it onto my nail, cut it and re-pressed it to make sure it was stuck. I applied a thick-ish coat of Rimmel 60 Seconds in Black Out on the worst tip wear offender and quickly peeled it off. Oh, big mistake. There were no lines, just blobs of black polish over speckles of colourful glitter. 'Oh well!' I though, 'Let's try the next one'. I let it dry for about five seconds but I still ended up with a mess. 

What to do but keep trying? I grabbed sticky tape and tried to do one of these on my ring finger. It seems like I placed the sticky tape bits too close together, maybe there was a bubble in the polish or I didn't wait long enough but the half the black came off with the tape. It looked baaaaaad... Plus there was no contrast with the dark blue I was wearing and it was too far down on the nail for it to look good. I tried the last method once more on my thumb and it worked so well, I almost top coated it. Pity, the rest were so unpleasant to the eye. It all had to come off! I didn't even take a photo of it! 

I shall remember it anyway with this small tribute. 

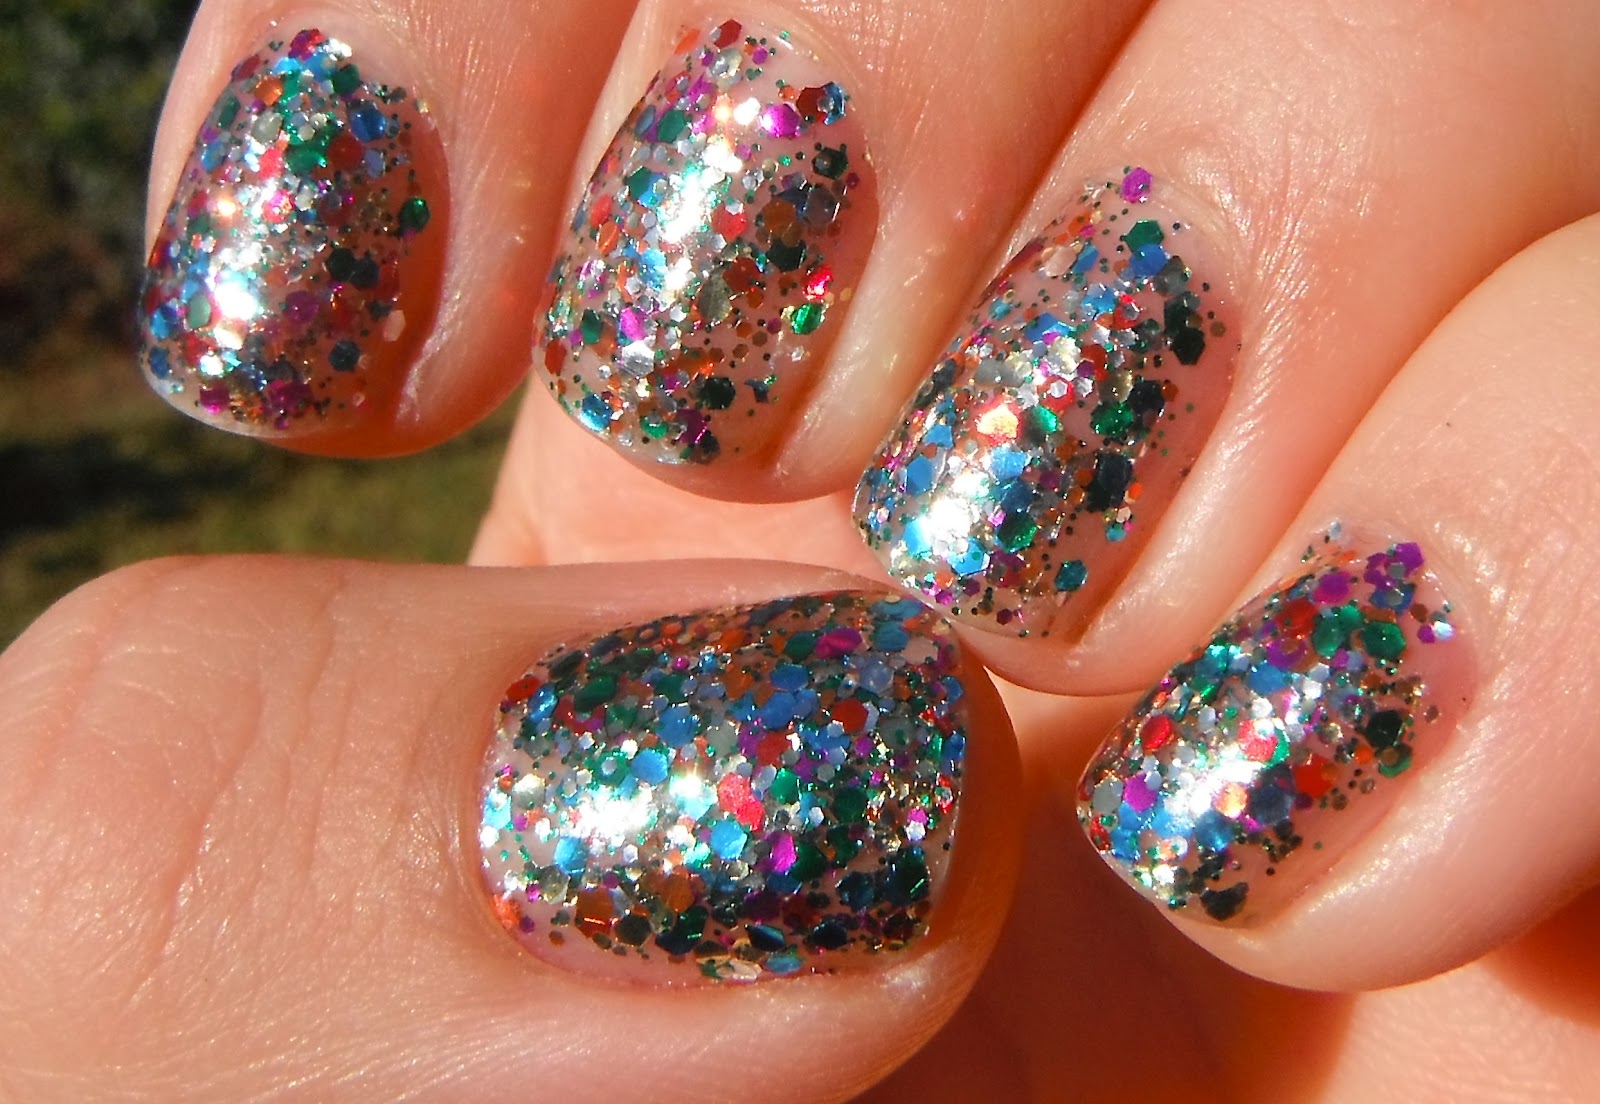
The colours of American Apparel in Supernova have everything my skittled mani had, lots of colour and lots of glitter!

I need 4 coats to get a (mostly) full coverage and each coat dried surprisingly quick. I was done in about 20 minutes including top coat and by then it was dry to the touch. This polish is surprisingly smooth without top coat and there's no need to fish out the glitter if the brush is inserted into the bottle fully for each application. Enough of my words, I shall leave you with some pictures.


*Chalkboard Nails gives credit to Nailside for the idea of the tape mani, however, I liked the former's idea of using striping tape as I have no patience to cut so many strips of such small width. Anyhow, if my attempts keep failing with striping tape, I might have to follow the sticky tape route.

That's all from me and until next time,

Happy polishing.

LinkWithin

Related Posts Plugin for WordPress, Blogger...