Showing posts with label Essence. Show all posts

Friday, 16 October 2015

40 Great Nail Art Ideas - Geeks

The idea of a geek has a long way from its original meaning and anyone could be called a geek if one's passionate and into a hobby hard enough to know heaps about it. I feel like it's almost cool to have something to be that passionate about and call yourself a food geek, literature geek, gaming geek, etc. I wanted to take it back to the latter sort of geek, which is the meaning of the word I grew up with and really, what better (and easier) way to create it than with one of the original video games, Tetris? I've loved that game for most of my life so it would eventually make it to my nails. Perfect opportunity.


I used two coats of Essence's Wild White Ways as a base and used HK Girl topcoat to stick the different coloured square rhinestones. Used the same topcoat to seal it all in. Simple  and quick as as that. Leaves me with more time for Tetris. :)


I had to plan the shapes out before I stuck them to my finger as I wanted to make sure they look good and they would fit. There has been plenty of times where designs look good in my head but when executed, they turn a little less pleasing to the eye. Who would have known planning ahead would come in handy? And I actually love these nails. They don't look great close up but they are sparkly and colourful. A good combination for the novelty nail. 


Till next time, 

Laura


Saturday, 3 October 2015

40 Great Nail Art Ideas - Hobbies

So I'm back on the blog and really what better way to come back that with the 40 Great Nail Art Ideas challenge. I may have lost some of my blogging mojo but I know I can get it back and will produce some better stuff as we go along.

This week's theme was hobbies. When it comes to hobbies, I have a lot. I would say I have a lot of interest in the things has to offer rather than having a impatient mind. I started with the idea of volleyball, cos it's what I do most days even I can be rather bad, but the colours weren't right, I smudged the mani, the colours I wanted to use weren't opaque enough. Then, I thought of astronomy. It's not something I do very often but I have been interested in sky gazing for at least 10 years so I figured it'd be good to do since I've never successfully done any galaxy nails. I tried again. I wouldn't say entirely successful in my attempt but I tried. 


I created a marble base with OPI's Sheer Tints I Can Teal You Like Me and Don't Violet Me Down, then applied a coat of flakies from Sephora called Snowflakes and sponged on some Space Queen by Essence to create some sort of galaxy effect. I then did another marble with the tints to create opacity and seal in the glitter. I then tried to create some constellations with a brush and some unnamed white polish but that's when it all went down. :( I topcoated it all with HK Girl Fast Drying Top Coat.


It's super sparkly IRL but I just couldn't capture with the camera. Hmm... Have to get back to practising all this skills I once had. Hehe.


Until next time, 

Laura


Tuesday, 29 April 2014

The Neverending Pile Challenge: Most Expensive

I like to think I am quite thrifty when it comes nail polish buying but every so often I feel like splurging if there is something amazing that I can't get any dupes for cheaper. When I started blogging, I'd see swatches of holographic polishes and I'd just look at the my screen trying to keep my mouth closed. Unfortunately, I couldn't find any holos at the local Target so I had to go hunting for the only brand I knew had good holos and I knew where to get from. Yes, it took a plane, bus and tram round trip to get the $19.95 Layla Hologram Effect polish (I had other plans for this trip but I was utterly excited to go shopping for polish). Yes, I was unaware if the price when I gave it to the checkout lady and didn't want to seem like a cheapskate and put it back on the shelf before walking out. As awkward as that experience was for me, today I can be glad that Coral Glam is part of my stash. 


This wasn't an untried as such. I had put it on on a couple of fingers  before to marvel at the beauty of the holo but had never worn it as a full mani. And man! I forgot how pretty this was. It's subtle enough on the shade but once it comes out to the sun that flame is strong. 


By the way, I used a base coat for this ad three coats of  Coral Glam to reach opacity and cover up all the drag marks that I manage to get during application.


I'm not good at leaving nail polish alone so I added my first ever DIY nail decal with a three of unused polishes. I used Konad Special Nail Polish in Black for the outline and coloured in the flower from MoYou's Suki 04 plate with Revlon Parfumerie's African Tea Rose, Sunlit Grass and Apricot Nectar. I thought the green polish was an unused polished but turned out I had used Essence's The Green & the Grunge before. Once I applied and cleaned up around the decal, I topped the whole mani with one coat of HK Girl Top Coat.


I know the decal isn't the best but I'm happy with the way this turned out. And you know, one can always look at the holo instead of the decal. :)


I really like this polish and I am glad it has come out of the untried  stash considering all the effort that was required to get this little bottle.

Till next time, 

Laura


Thursday, 24 April 2014

GOT Polish Challenge: Something Tropical

I'm back after week and half long blogging break. I didn't go on a holiday or had a emergency pop up, I was feeling overwhelmed and disappointed with my lack of imagination for innovative manis and the pressure (put on me by me and me only) to keep up with the two challenges I decided to take up on recently. I'd usually see it as a lack of professionalism to just leave for a while without notice but I was just not feeling it. This is supposed to be a hobby that I ENJOY and trying to keep up when my mind shut the creative side out temporarily makes this pastime everything but.

But the break helped and now I'm back with what I feel is a clear head and itchy fingers to get some nail art happening. When the 'something tropical' prompt popped out, I knew I didn't want to just do palm trees or a sunset because well, I'd be too difficult for me to do and I didn't want to get tired on my first post. So I googled tropical and after a few clicks here and there, I decided to do a blue poison dart frog skin pattern on my nails, which live in the tropical forest of Central America.


I started with two coats of Absolutely Blue by Essence and one of HK Girl top coat for the base and let that dry. I then used a wedged make up sponge and created a rough triangular gradient with Essie's Aruba Blue by tapping the sponge lightly over the base and building up the colour (I reeeally need to learn to break up my sentences). Once dry, I used Topshop's Celestial to do the outline of the spots and used American Apparel's Hassid for the black spots. Finished by cleaning my cuticles and with one coat of HK Girl top coat.


Frog used for inspiration. 

Source

This was super quick and easy to do, I would generally have to repeat at least one step in my manis but not with this one. Woohoo!


I'm really happy with the way this turned out so I could almost say i'll be back next week. Maybe... I can't promise anything. 

Till next time, 

Laura


Monday, 14 April 2014

GOT Polish Challenge: Coral

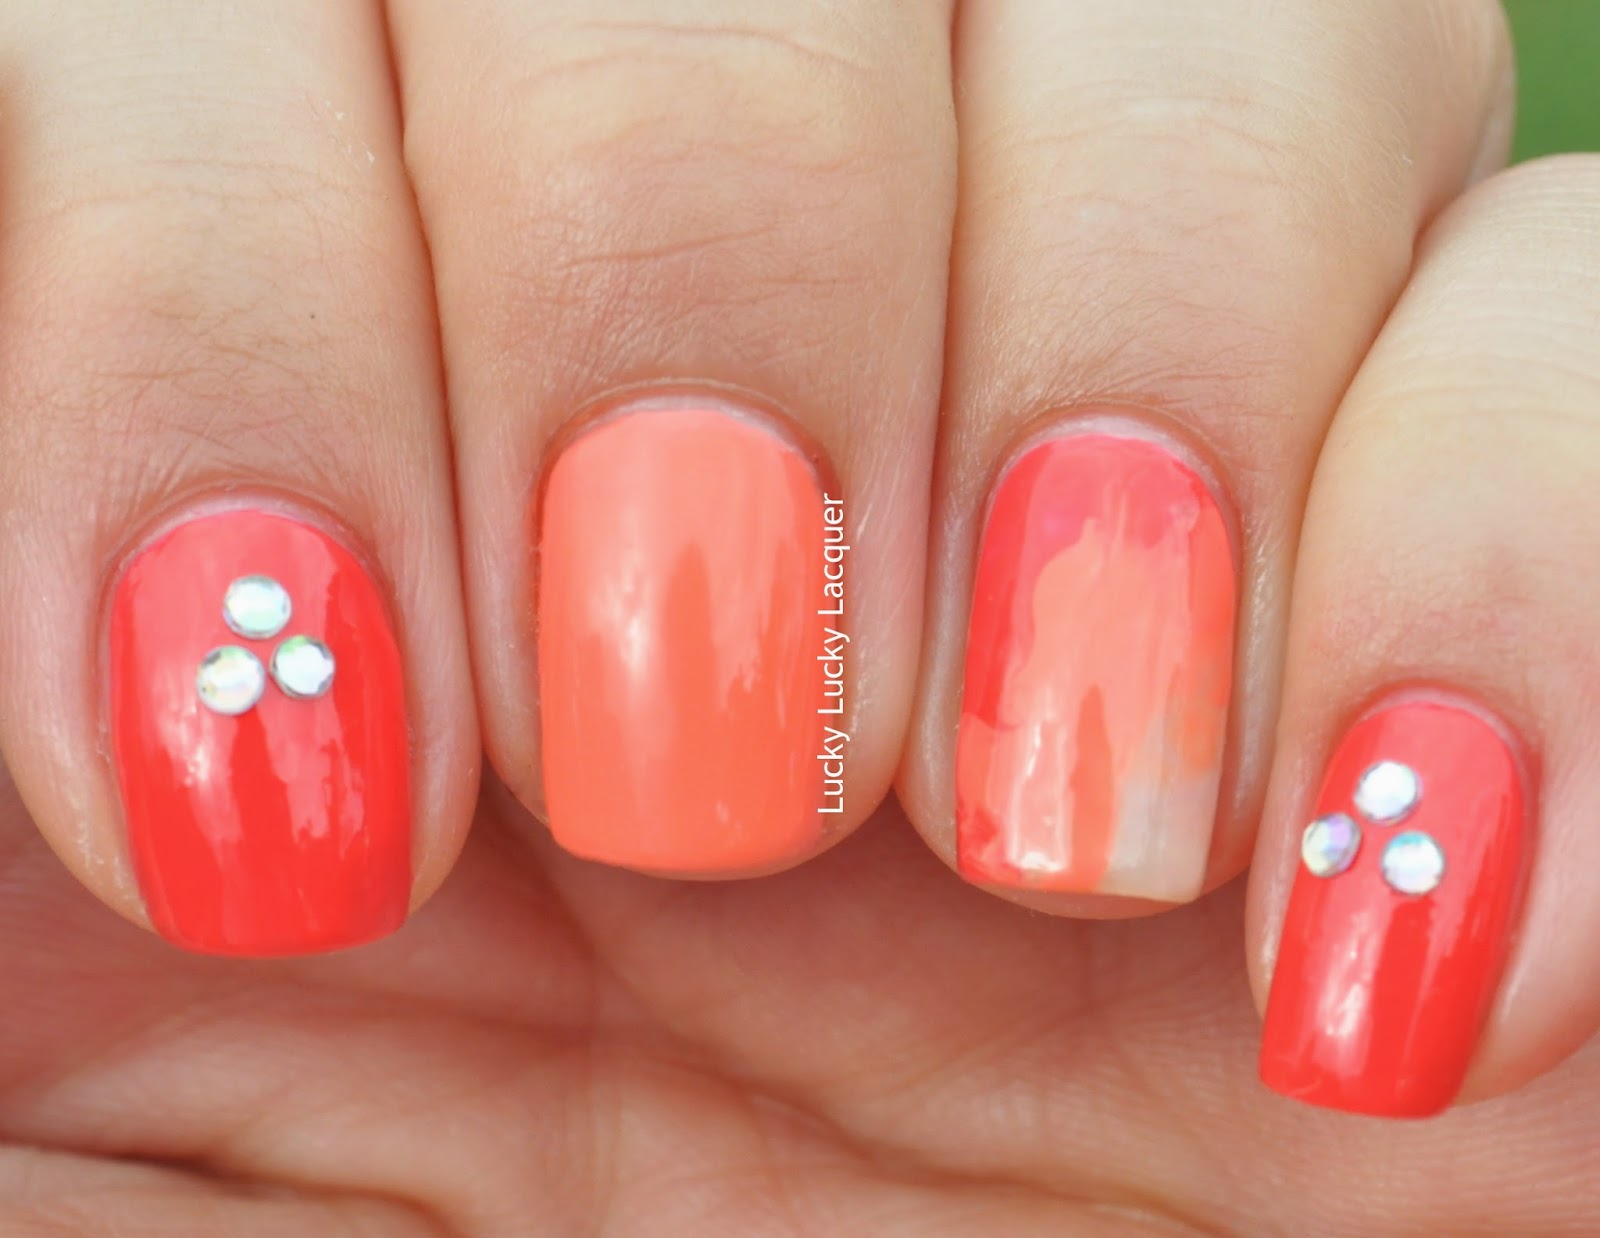
I should be calling this challenge Golden Oldie Monday since I've managed to start the posts from Wednesday night but don't end up publishing them until Monday. Anyway, I didn't think I had any old corals that fell into the category of a Golden Oldie until I looked up and Lisa II by Bloom, a boutique Australian brand, that was staring at me with wide, sad eyes.I bought Lisa II back in June 2011, along with Eddie, and since then it has been used in a lot of good and bad milestone moments for me so I'm presenting this in a bitter sweet manner. I also used Essence's C'est Le Vie! that I rediscovered since I created this mani, I know I had a whinge about it then but I think the formula got better since it got a little of air in. 


I started with two coats Lisa II on my index and pinky fingers and let them semi dry before attaching the rhinestones to the tacky polish. I then used two coats of C'est Le Vie! on my middle finger and thumb with one coat of HK Girl Top Coat to seal it. For the dry marble, I dropped three thick diagonal lines of the polishes above and Essence's Give me Nude, Baby! and squished it with a plastic bag. 


I didn't use any topcoat on Lisa II or the marble as they came out quite shiny the way they were. I also noticed the Bloom polish was slightly see through, which makes me think this is a crelly. Here I was thinking I didn't have anything like it for ages but I obviously didn't know about polish when I got it.


I think I might need to start doing the next prompt so I can get it done by at least Friday. Hehe! 

Till next time, 

Laura


Wednesday, 2 April 2014

Revlon Parfumerie in China Flower

I have a very soft spot for red polishes. They are classic, easy to wear on their own and there will always be one that suits your skin tone perfectly. When it came to buying the whole collection of Revlon Parfumerie polishes because I obviously had no restraint, I knew China Flower would be one of my favourite ones of the lot by just looking at the colour. It was even better when I opened up the bottle and started painting my nails with it.

China Flower is a leaning-to-coral red crelly, it is opaque and even in ONE coat with a super buttery and quick drying formula. Can I say anything else better about it? The scent is beautiful. I have seen a few mixed reviews on the smell but I'm one of the people that absolutely adores it. The subtle smell is this combination of musk, spice and pepper with none of the sweetness most of the other polishes in the range have. With a name like China Flower one would expect something different but I am pleasantly surprised.


I figured doing plain swatches of this red would be extremely boring for you guys, so I decided to try some cut out nails. I have always love the look of them but my striping skills have only recently improved and I felt the lack of such skills was a big hindrance to me recreating the manicure type properly.


I started with one coat of Essence's Give Me Nude, a super sheer polish that is basically the equivalent of foundation for your nails, and then sticky taped off the sections I wanted to leave nude and got myself painting. I only used one coat China Flower to get the coverage that I did. Once all the polish was dried, I brought out my trustworthy Topshop Nail Art Pen and started lining the perimeter of the nude parts of the nails. I finished it all off with one coat of HK Girl top coat.


I know most cut out manicures have a lot more colours and windows and whatever, but I like the simplicity  of these. They were really fun to wear and sniff when dry even though my lines weren't perfect at a macro scale. It was one of those manicures that looked great from afar and I was the only getting close enough to them and I wasn't worried. Win, win for me. :)


China Flower is a welcome addition to the stash even if I already own something similar without the smell. I would recommend this if you're looking to get on the scented polish wagon as the colour is on the safe side and the smell is subtle enough that you would have to put your hands near your nose to smell it. And you know, you wanna look like an odd lady doing that.

Till next time, 

Laura

Thursday, 20 March 2014

GOT Polish Challenge: Ruffle Mani

I've seen ruffle mani plenty of times but, even though there are some very talented ladies out there that can do wonders with this technique, I have never been enticed to recreate one as they seemed a lot of work... Yeah, that's my lazy side popping out. I figured a simplified version would be more suitable for me and it wouldn't put me completely off doing another in the future. I don't even know if I've done the ruffles right but here's my take on the prompt. 


I started one coat of Jacob's Dream from the The Twilight Saga Breaking Dawn Collection from Essence (one of my longest named polishes) that was given to me by Tasha in a swap sometime before Christmas 2012. It's almost a one coater so I tried applying a medium coat slowly and smoothly hoping I wouldn't have to do two coats for the base. That, people, is exhibit B of my laziness. After the first coat I applied one coat of HK Girl Top Coat to help Jacob's dream to dry quickly.


Once that base was dry I created the ruffles with OPI's Goldeneye, acquired in January 2013,  letting it dry and then using Jacob's Dream for the following ruffle and so on and so forth. I used the brushes from the polish bottles and I thought the were easy enough to control, however, looking at the unevenness of the ruffles made me realise otherwise. I finished it all off with one coat of the same top coat used above to even the six layers of polish out. 


I created this mani last night and I knew I had to brig out out to the sun but it's not my usual mid-afternoon sun that makes everything look really good but the midday sun that washes everything out with its glare. But I guess that shows how sparkly this mani actually was.


I like this first attempt at a ruffle mani (if that's what we are calling it) but I know it's not my best work. I guess I'm gonna have to try it again...

Till next time, 

Laura


Sunday, 9 March 2014

Revlon Parfumerie in Surf Spray, Stamping and Colour Matching


I'm gonna include three bits of information in this post so I'll try to keep it as concise as possible. 

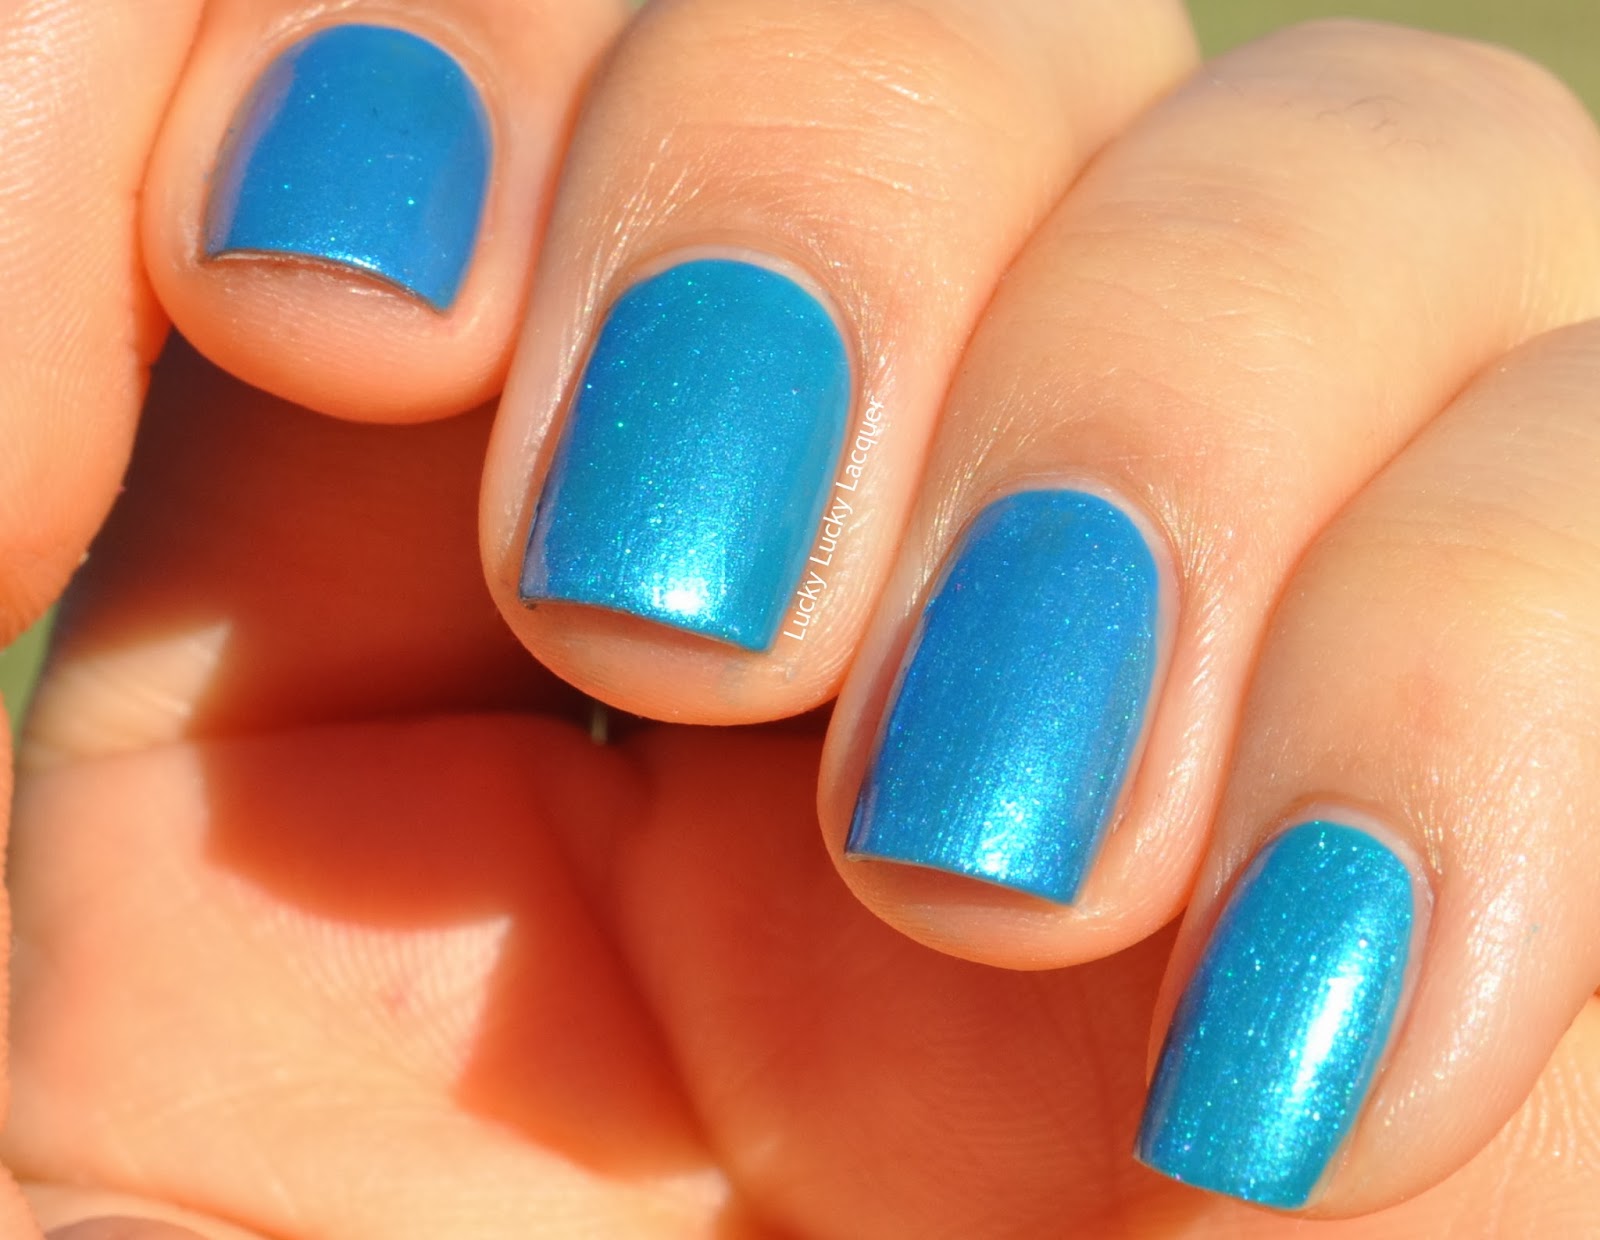
First and foremost, I'm gonna show you another one on the Revlon Parfumerie polishes I have recently acquired. Surf Spray is a slightly-leaning-towards-aqua blue shimmer with light blue and purple almost flakie-like, tiny glitter. It is a rich colour on the bottle but it doesn't fully translate to the nails; not that's a bad thing, it looks different than expected but it's still pretty nonetheless. 

Surf Spray is very sheer and it can take 3-4 coats to reach full opacity; I may have cheated a little and put some undies on to make sure this dried quickly and I didn't use too much of the polish.  Can you tell I used two different polishes for the base?


There's not a lot of difference but if we must, I used Max Factor Mini Nail Polish in Candy Blue on my middle finger (left in the below photo) and Essence's Let's Get Lost on my ring finger (right). I could see a very slight darker duochrome effect with Candy Blue but that might have to do with the fact that CB was the darker base.


After all that, I used one coat of each base colour and one coat of Surf Spray on each nail. There was no change on the depth of the polish whether it had the 4 coats or the undies on. The formula is pretty good and stays where one puts it with the brush. It can get a bit streaky but careful application can solve the problem, if that's something that bothers you.


Oooh! I forgot about the scent. Surf Spray could be interpreted in a lot of ways but these guys seemed to go along the way of washing powder and marine scented hand wash. It's one of the scents that has grown on me and it's not overpowering, so leaving it on makes me feel like I have clean hands when they may not actually be. :/

Now for the stamping, I used an old Sally Hansen in Antique Bronze that I bought for stamping about a year ago because of the colour but it turned out too sheer; now that time has passed, it has gotten a tad thicker and it starting to stamp well on certain colours. The design came from MoYou's Suki Collection - 04 plate and I'm not sure if you've noticed but my pinky and ring fingers mirror the pattern on my middle and index fingers. Super revolutionary, right? I topped it all off with one coat of OPI Mate Top Coat. 


Now for the last part of the post I'm gonna keep it super positive. I am rubbish at picking colour combinations. I usually have to consult a trustworthy colour wheel to see what may look good together and pray that it actually turns out OK. That was until today. Looking for colour wheels on Google, I went past the first couple of results and discovered this interactive colour wheel by Adobe. I would have never thought of the combination above by myself so I was super happy that I could choose a colour close enough to the base and discover that a brown would be a good combination. Considering the base was a shimmer, I figured a simmer would be good. Voila! A good combination.

I've been playing around with it all afternoon and picking polishes from the rack to see future combination and I'm pumped to get some those out. Thank you whomever come out with it!!! I'm hoping by putting this here it might help someone else, maybe...

That's it from me, I wanted to keep it short and I'm still babbling on.

Till next time, 

Laura


Friday, 21 February 2014

Revlon Parfumerie in Espresso

I'm kinda bummed. I did this awesome mani for the GOT challenge last night and it was so sparkly I knew I had to wait until this morning to take photos in the sun. I'm not great with alarms and mornings so my plan of photographing nails went out the window. I went on with my day and by the time I was ready to snap some pics, I had some major tip wear on all my fingers. No crying over spilled milk, right? I'll recreate it again later when I feel super uninspired.

After that little episode today, I decided to keep showing you guys the Revlon Parfumerie polishes I bought recently. I chose Espresso out of the 23 I now own from that line, a black creme with green undertones that is opaque in two coats, the formula and drying time are fairly average. From the name, one could gather that this would smell like coffee and being a lover of the brewed beverage scent I was super excited to try it out. When the polish dried and the scent popped through, I could only smell rubber-burnt sugariness. Not at all what I was expecting... or pleasant, to the point of being nauseating. 


I also had some issues with bubbling but that could be contributed to me not waiting for my base coat to dry or the second thicker coat I applied on some fingers.


The one good thing I can say about this polish is that it dries fairly shiny. I am showing it with a coat of Seche Vite out of habit but it's OK without it. I think the top coat had better smell than the polish and luckily it toned it down a bit.


I know swatches of a black polish wouldn't make for a very interesting post so I added some of Ulta3 in A Lister on the tips for the glitter gradient and combined some of Essence's Let's Get Lost and Essie's Blue Rhapsody on the stamping plate. I used MoYou's plate 4 from the Sailor Collection and I think the design didn't quite come as crisp because I tried to mix the polish on the plate and not beforehand. Lesson learnt.


I never say 'don't go buy that polish' because everyone has different tastes but this not worth the money for a black creme that we all know can be bought for way cheaper than $15.95 they retail for. Unless you are into smelling burnt rubber... then maybe, but that's probably not healthy. 

I really don't know what I am going to do with it, if anyone wants to try it let me know. I'll be happy to send it anywhere in the world.

Till next time, 

Laura

LinkWithin

Related Posts Plugin for WordPress, Blogger...