Showing posts with label Nude. Show all posts

Tuesday, 12 March 2013

Ciate's Beach Melba


When I first heard about the brand Ciate, it was back when they were trying to tell bloggers to stop posting photos of the caviar manicure as they would soon copyright it but hadn't yet done it. I came across it in a few blogs and in this case, bad publicity was really bad publicity. I didn't see any Ciate products in Aussie shops until I went into Mecca Cosmetica some time before Christmas ans saw the $20 price tag for a 13.5 ml bottle and $30 for their velvet/caviar kits. I could so pass up the opportunity to acquire this brand. For $20, I can get myself 5 Limited Edition essences, 4 Sinful Colours, 3 China Glazes online, 10 Ulta3's, not that I would but you get the gist.

The reason I'm presenting this to you is that I found the brand for about AU$10 a bottle at BeautyBay.com back in November. I wanted to try just because I heard so much about it on the internet and let's face it, that pretty bow calls out girly, and good marketing. I've put it on few times since then but I didn't fall in love with it but after a week and a half of failed nail art, I decided I might as well post some of the polishes I haven't shown in here.

So here it is, Ciate's Beach Melba. The swatch below was done with four coats and no top coat. 


What do I think about it? The good? The formula is great, it stays where you apply it and it dries super shiny without any top coat. The bad? Well, it is a pale nude (my bad choice), it takes forever to dry (I had to dip my fingers in icy cold water to speed up the process; otherwise, with my impatience, this post wouldn't have happened) and it is so sheer that even with four coats there is plenty of VNL. 

For a person that doesn't like nudes and has patience only for one-coaters, this polish wasn't the best choice. I love the glossy finish but my liking stops there. I mean, if you're looking for a work appropriate polish, go for it, if you can find it for cheap.

Another reason why I'm not very likely to buy this brand again is that, at the time of posting, BeautyBay.com was no longer shipping nail polish outside the UK. I don't want to pay $20 for a bottle of polish, especially if I can get myself 5 Limited Edition essences, 4 Sinful Colours, 3 China Glazes online, 10 Ulta3's...

The colour was a little too pale for my skin and didn't look right. I wanted to keep it nude-ish and pretty so I added a coat of Space Queen by essence. I got this polish a while ago, as you can see from me holding the 5 ml bottle. I'm not sure if it still stocked in the new range.


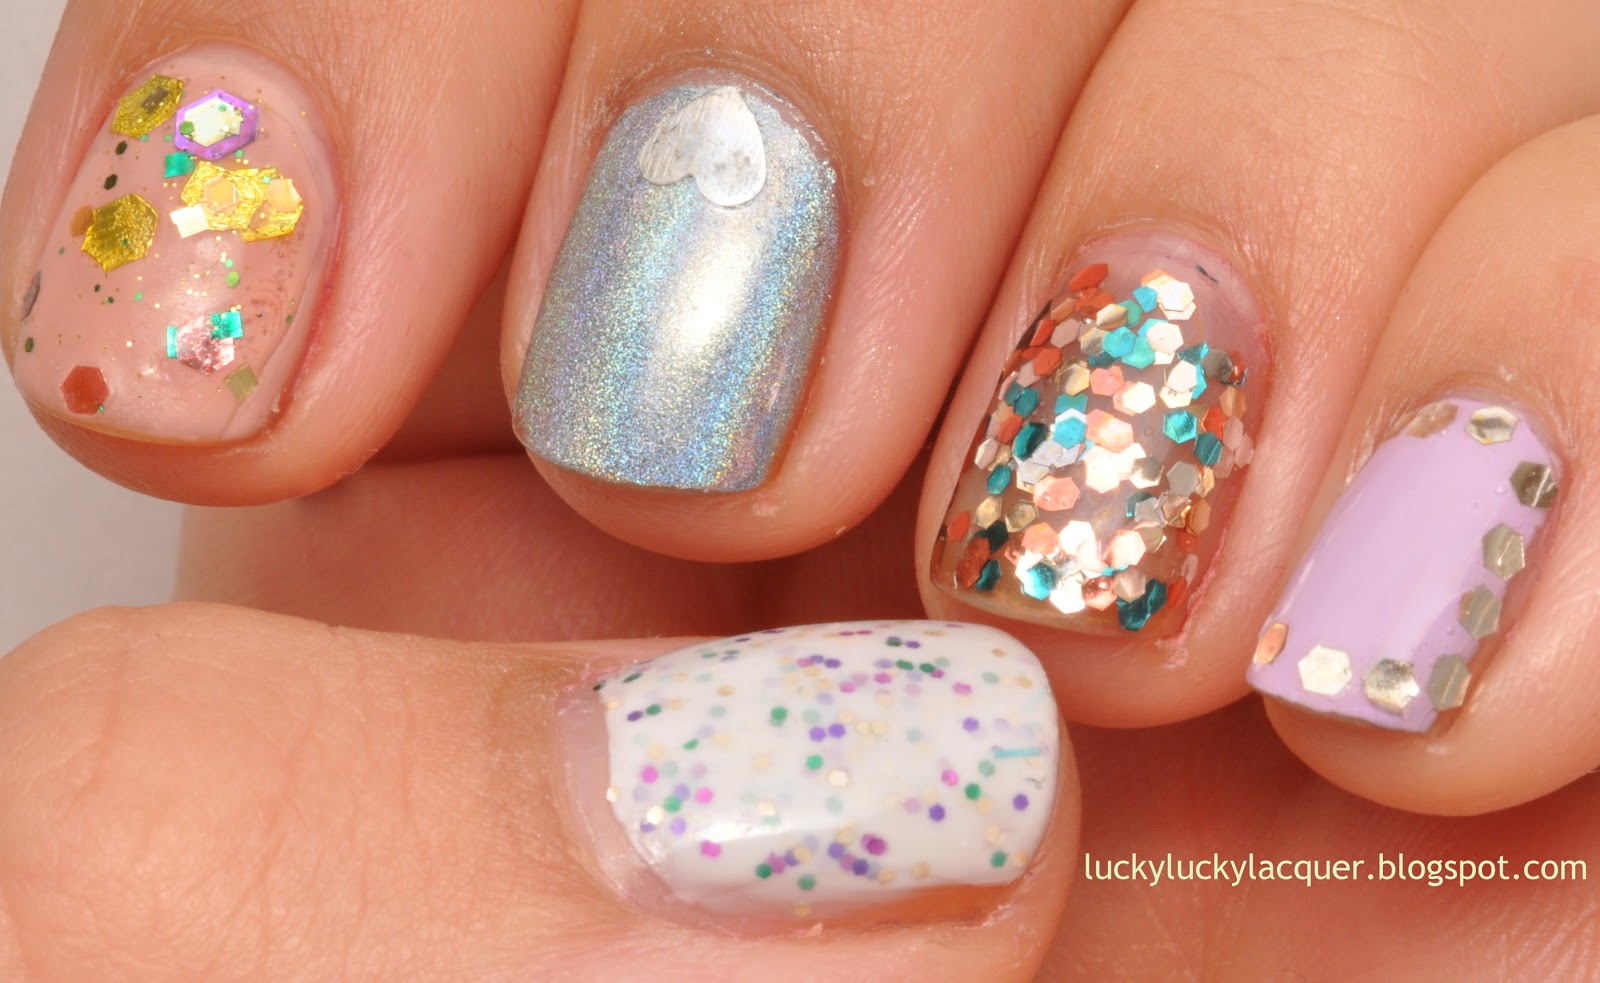
*Sigh* Glitter does make everything look better.

Bottle shot for show.

I might use this as a base for glitter sandwiches and nail art but I'm not really a fan. :( Have you ever tried a new brand for the hype of it and then didn't like it?

Til next time, 

Laura

Wednesday, 12 December 2012

Glitter Skittle

Not sure if you guys have noticed but skittled manis rock my boat. In this occasion, I ended up with a heap of different coloured glitters thanks to Tasha's stash. I would say Tasha has a very different taste in polishes that I do. She tends to go for pastels and lighter colours while I usually go for bright colours and in your face finishes. It's actually quite refreshing to see (and use) someone else's stash to try something different and expand the my colour horizons. Or I could say I just got more lemmings.


Pointer finger: Mirenesse in Forever Pearls and DBP in Jane
Middle finger: Colour club in (I think) Harp On It
Ring finger: OPI in The Living Daylights
Pinkie: China Glaze in Sweet Hook and glequins from Born Pretty Store

I can't actually remember the name of the polish on the thumb so I'll get back to you guys soon with that one.

For the top coat, I used Tasha's Seche Vite. It was my first experience with this top coat and I can see why it is so popular. All the glitters that I used are completely smooth and I wanna see how long they last. I guess I'll keep you posted on that one too.

Till next time, 

Laura

Monday, 26 November 2012

Striping tape not only for striping

Every so often I have this idea that it would be great to create a nude mani to have a palette cleanser, sort of thing. The only problem is I only own two nude shades, one being essence in Toffee to Go (see here) and OPI in Barefoot in Barcelona. Toffee to Go takes forever to dry and Barefoot in Barcelona makes my skin look dirty, I think. So I figured if I wanted a nude mani, I would have to get creative with what I had.

This originally was going to be a post about lace nails (my scissors weren't sharp/small enough, ended up too fluffy), then went onto neon/nude stamping (no neon polish of mine was showing enough on the nude polish), after that turned to create half moons with foils (my sticker guides didn't hold up with the foil glue) and ended up, as a last resort, with my 18 pack of striping tape.

After all those attempts, the polish I had on had to come off as there was no rescuing from all the dents left from all the stuff I tried to stick to the nails. I ended up using Barefoot In Barcelona on all my nails. I chose two striping tapes from my lot (from eBay from this seller), one purple and one blue. I almost went for a third one but remembered this was going to be a palette cleanser. I started with a blue stripe along my ring finger and decided to put one purple stripe on each side. For some reason, I decided to keep going and do the whole nail. So it looks like this:   


A close up of the nail.

I applied two coats of Sally Hansen Insta-Dri to make sure my work didn't fall out within the hour, after all, it took me about 45 minutes of patient work to finish the one nail.

Once the top coat started drying, the blue striping tape started fading and heaps of bubbles formed. You can see a how it started below.


 The photo below was after about half an hour and you can see the difference.


I carried on with my activities and after about three hours and a gym class, there was major colour fade on the blue striping tape but not the purple, and pretty bad tip wear. I also noticed my dodgy clean up job. Oops.


It basically looked like a simple nail wrap but I knew the work behind it. Would I do it again? Yeah, it was so much fun, even if it only lasted a couple of hours. I might try it with more colours and combine it with bright, non-nude polishes and see what I can come up with. I think striping tape and I have just become best friends.

What do you think? Would you try it? Or do you have any suggestions?

Til next time,

Laura 

Tuesday, 19 June 2012

The Nudes

No, there are no naughty pictures in this post but there are photos of a very new thing for me. Nude colours. 


I've always been a fan of bright pinks, scarlet reds, royal blues, deep purples, glittery blacks; whereas pastels, beige and pale brown tones usually went unnoticed and if I ever glanced twice while shopping, they would be put rejected for the more luminous shades. This doesn't only happen with polish but with clothes, shoes, homewares, anything that I would pay for basically.


However, after trying your Butter London Yummy Mummy, I thought I could give this look a go. I went to Target to see if I could score any bargains but I couldn't really find anything I liked within my low budget. To the rescue came that little underrated Essence Cosmetics stand. Essence released a Nude Glam collection for the northern hemisphere's spring for this year, which includes 7 polishes of the nude sort. The one that got my attention was Toffee To Go. It wasn't too pink, too brown or too shimmery and I thought it would be suit my skin tone.  


To be completely honest, I couldn't bear the thought of not having colour or sparkle on my nails, so I added  OPI Save Me from the Nicki Minaj Collectionas an accent on my thumb.


Here it is, my first (and almost) full nude. I used three coats of both Save Me and Toffe to Go. On the thumb, I used three coats of Toffee to Go with a wiggly-lined piece of sticky tape after letting Save Me dry. It was all toped off with two coats of quick drying top coat.


I loved this mani but... The Essence Toffee To Go was a pain in the ass to work with. It was streaky, the formula was thick (how can those two go together?) and it took forever to dry. If you were to zoom on my the above picture, you might be able to see a lot of hair marks on the polish even after I applied two (two!!) pretty thick coats of top coat.


Needless to say, this came right off and got replaced by another sort of nude mani. For this one I used three coats of  OPI DS Classic and a bronze foil for the accent nail.


I was a lot happier with this and, even though the foil didn't last more than two days, I would like to say this is more my kinda nude. 


One last one because I liked it that much.


That's all from me. So until next time,


Happy polishing!!

LinkWithin

Related Posts Plugin for WordPress, Blogger...