Tuesday, 29 April 2014

The Neverending Pile Challenge: Most Expensive

I like to think I am quite thrifty when it comes nail polish buying but every so often I feel like splurging if there is something amazing that I can't get any dupes for cheaper. When I started blogging, I'd see swatches of holographic polishes and I'd just look at the my screen trying to keep my mouth closed. Unfortunately, I couldn't find any holos at the local Target so I had to go hunting for the only brand I knew had good holos and I knew where to get from. Yes, it took a plane, bus and tram round trip to get the $19.95 Layla Hologram Effect polish (I had other plans for this trip but I was utterly excited to go shopping for polish). Yes, I was unaware if the price when I gave it to the checkout lady and didn't want to seem like a cheapskate and put it back on the shelf before walking out. As awkward as that experience was for me, today I can be glad that Coral Glam is part of my stash. 


This wasn't an untried as such. I had put it on on a couple of fingers  before to marvel at the beauty of the holo but had never worn it as a full mani. And man! I forgot how pretty this was. It's subtle enough on the shade but once it comes out to the sun that flame is strong. 


By the way, I used a base coat for this ad three coats of  Coral Glam to reach opacity and cover up all the drag marks that I manage to get during application.


I'm not good at leaving nail polish alone so I added my first ever DIY nail decal with a three of unused polishes. I used Konad Special Nail Polish in Black for the outline and coloured in the flower from MoYou's Suki 04 plate with Revlon Parfumerie's African Tea Rose, Sunlit Grass and Apricot Nectar. I thought the green polish was an unused polished but turned out I had used Essence's The Green & the Grunge before. Once I applied and cleaned up around the decal, I topped the whole mani with one coat of HK Girl Top Coat.


I know the decal isn't the best but I'm happy with the way this turned out. And you know, one can always look at the holo instead of the decal. :)


I really like this polish and I am glad it has come out of the untried  stash considering all the effort that was required to get this little bottle.

Till next time, 

Laura


Friday, 25 April 2014

The Neverending Pile Challenge: Had To Have It, Still Haven't Worn It

About a year and a half ago, Tasha let me try her Warm & Fozzie polish from the Muppets Collection by OPI and I fell in love instantly. I looked for it in a lot of  places but they seemed to be sold out and I didn't want to pay $20 for a bottle of polish at the department store. Eventually, I found it at a particular shop (that I will not mention because the bottle turned out to be a fake OPI!!!) and paid $17 (yes, $17 for a fake!!!) for one of the most beautiful polishes I had seen until then. And it sat in storage for a while, then more bottles came into the stash and Warm & Fozzie stayed in its place, almost forgotten.

When it came to today's prompt, I had to think which one fitted the category the best since I have a lot of polishes that I bought because I really wanted them but I'd  worn them on at least a finger for a day. Warm & Fozzie didn't even get that kinda treatment so I figured today would be the best day to bring it out and wear. 


I love all the tiny bronze, rose gold and gold shimmer particles of this polish, how they glisten in the sun and how reflective they are. My camera was freaking out a bit at the sight of all the reflected light so I brought the camera inside and used the light box. It's still very pretty. How did I go so long without using it?!!!


And because I can never leave good things alone, I decided to bring out an unused stamping plate to go with the polish. I even had to peel off the blue plastic film off the plate for this mani, I can say it was satisfying. 


I used the tribal pattern from BM-402 and Penny Talk, Blue Rhapsody and Good As Gold all from Essie's Metallic Mirrors collection (which have been used previously). 


I realise this looks kinda Easter-eggy down to the crinkling of the metallic polish over Warm & Fozzie but I was going for a tribal look.


I'm still quite pleased with the way this turned out and I'm glad to be back on the challenge.

Till next time, 

Lautra


Thursday, 24 April 2014

GOT Polish Challenge: Something Tropical

I'm back after week and half long blogging break. I didn't go on a holiday or had a emergency pop up, I was feeling overwhelmed and disappointed with my lack of imagination for innovative manis and the pressure (put on me by me and me only) to keep up with the two challenges I decided to take up on recently. I'd usually see it as a lack of professionalism to just leave for a while without notice but I was just not feeling it. This is supposed to be a hobby that I ENJOY and trying to keep up when my mind shut the creative side out temporarily makes this pastime everything but.

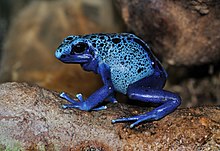
But the break helped and now I'm back with what I feel is a clear head and itchy fingers to get some nail art happening. When the 'something tropical' prompt popped out, I knew I didn't want to just do palm trees or a sunset because well, I'd be too difficult for me to do and I didn't want to get tired on my first post. So I googled tropical and after a few clicks here and there, I decided to do a blue poison dart frog skin pattern on my nails, which live in the tropical forest of Central America.


I started with two coats of Absolutely Blue by Essence and one of HK Girl top coat for the base and let that dry. I then used a wedged make up sponge and created a rough triangular gradient with Essie's Aruba Blue by tapping the sponge lightly over the base and building up the colour (I reeeally need to learn to break up my sentences). Once dry, I used Topshop's Celestial to do the outline of the spots and used American Apparel's Hassid for the black spots. Finished by cleaning my cuticles and with one coat of HK Girl top coat.


Frog used for inspiration. 

Source

This was super quick and easy to do, I would generally have to repeat at least one step in my manis but not with this one. Woohoo!


I'm really happy with the way this turned out so I could almost say i'll be back next week. Maybe... I can't promise anything. 

Till next time, 

Laura


Monday, 14 April 2014

GOT Polish Challenge: Coral

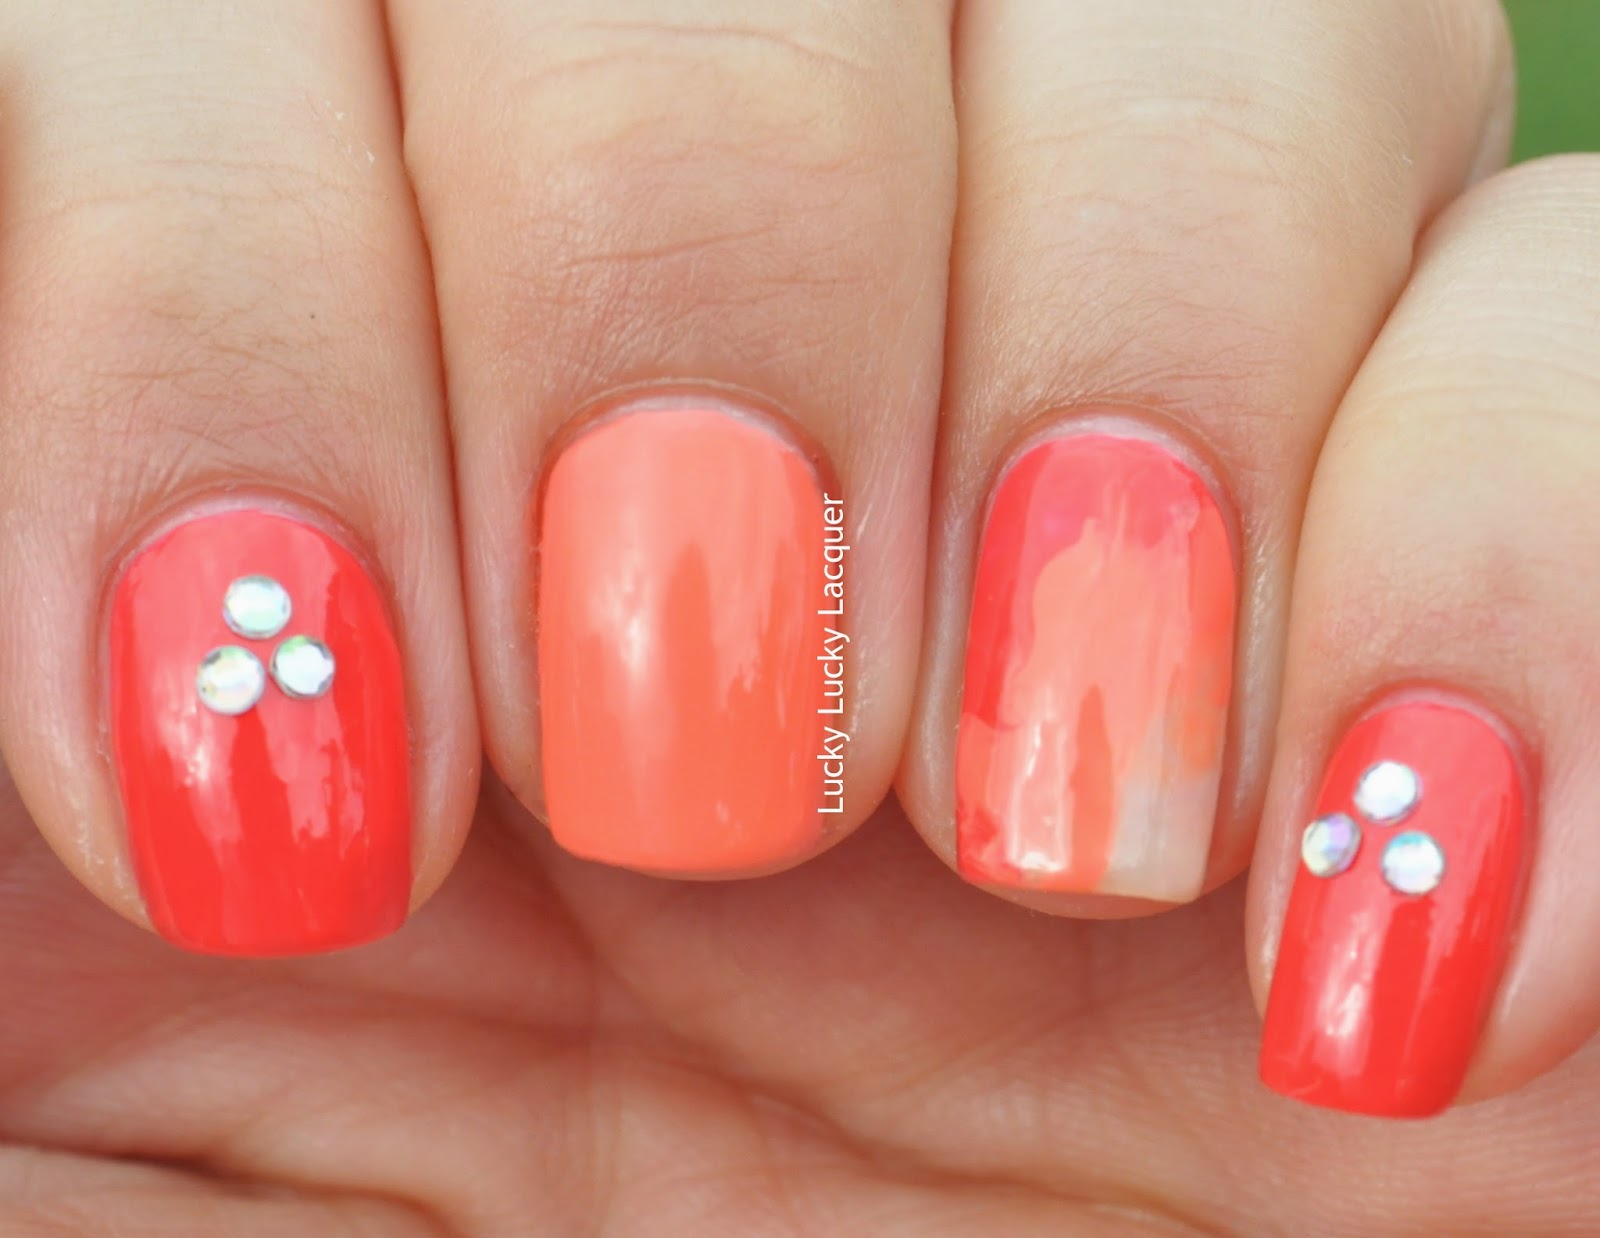
I should be calling this challenge Golden Oldie Monday since I've managed to start the posts from Wednesday night but don't end up publishing them until Monday. Anyway, I didn't think I had any old corals that fell into the category of a Golden Oldie until I looked up and Lisa II by Bloom, a boutique Australian brand, that was staring at me with wide, sad eyes.I bought Lisa II back in June 2011, along with Eddie, and since then it has been used in a lot of good and bad milestone moments for me so I'm presenting this in a bitter sweet manner. I also used Essence's C'est Le Vie! that I rediscovered since I created this mani, I know I had a whinge about it then but I think the formula got better since it got a little of air in. 


I started with two coats Lisa II on my index and pinky fingers and let them semi dry before attaching the rhinestones to the tacky polish. I then used two coats of C'est Le Vie! on my middle finger and thumb with one coat of HK Girl Top Coat to seal it. For the dry marble, I dropped three thick diagonal lines of the polishes above and Essence's Give me Nude, Baby! and squished it with a plastic bag. 


I didn't use any topcoat on Lisa II or the marble as they came out quite shiny the way they were. I also noticed the Bloom polish was slightly see through, which makes me think this is a crelly. Here I was thinking I didn't have anything like it for ages but I obviously didn't know about polish when I got it.


I think I might need to start doing the next prompt so I can get it done by at least Friday. Hehe! 

Till next time, 

Laura


Wednesday, 9 April 2014

The Neverending Pile Challenge: Pastel

I almost thought I wasn't gonna post on the second day of the challenge because I had the idea that I didn't have any untried pastel polishes. Pastel colours don't really complement my skin tone so if I buy one of these hues, I do it for a reason and I will use it. After I had a good look in my stash, I came across a Nails Inc polish that I had bought as a gift but for some reason or another, I never ended up giving it away. So it sat on the rack for year and a half without even having been opened until today.

I present to you Little Miss Sunshine by Nails Inc, a peachy, nude creme that has a very nice, quick drying formula for a lighter polish. It got it opaque in three coats but it would have been fine with two if I had done been a little more careful with the application. To tell you the truth, I wasn't expecting much from this polish from previous experience with this type of colour but I was pleasantly surprised and couldn't stop looking at it for a while. As mentioned,  three coats and no topcoat for the swatch below.


I always get itchy fingers... (that was me trying to be funny, just in case you missed it) when I have plain nail polish and this time was no exception. The image that I thought of when I saw the colour on my nails was one of the many manicures that float around on Pinterest of metallic overlapping triangles over a nude base. I've seen them a lot (but I cannot find one of them right now!!!) and I knew exactly what colours I wanted to use. 

I brought out the striping tape and created one long triangle per nail with OPI's Goldeneye, let that dry and repeated the same process with Essie's Nothing Else Metals. I topped it all off with one coat of HK Girl Top Coat. 


Unfortunately, Some of the Goldeneye polish came off with the tape when I tried to create the purple triangles, then took too long to remove the tape when I was working with Nothing Else Metals, all which left the triangles a little rough. I tried to patch up the missing bits taken off Goldeneye with a dotting tool and it sort of worked but there was nothing I could do with NEM.  I'm tempted  to tag this as nail fail but it looks nice and sparkly from afar and I've learnt that next time, because there will be a next time, to make the triangles longer to help with the overall look and work within appropriate tape removal times with each polish.


I went for the best angles of the mani hence the lack of photos and different poses. :)


I already have the next prompt's mani ready to go and I'm roaring to dive into this challenge fully.

Till next time, 

Laura


LinkWithin

Related Posts Plugin for WordPress, Blogger...